Sunday
23
April '17
   |
|
From Vancouver Yarn blog
Warp: the yarn that is wrapped around the loom under tension.
Weft: the yarn that is passed back and forth through the warp.
When weaving, you draw your between two sets or warp threads.
Shed: the open space found between the warps at the back and the ones at the front.
To lock in one thread of weft that has been passed through, you must change the shed.
One way to do this is to pick up the back warps so they are acting as front warps.
This loom is set up in a way that has one shed that is always open.
This means that to change the shed, you will only have to pick up threads going one way.
The other shed is open by default while your loom is in a resting state.
If you have warped up as per the previous video and your open shed is hard to get into, try entering the shed from higher up on the loom, sliding your hand down, and you may need to tighten your tension using the nuts on your loom, too.
Now let’s slow down and do this step-by-step.
To begin weaving, send the weft bundle through the open shed in sections.
Beat down your weft with a fork.
Pick up the back warps in sections; a back warp will come up between two front ones.
Be sure to note if an edge warp should be picked up. Warps alternate, one up, one down.
Continue across, creating bubbles.
Beat with a fork (again), and go back through your open shed (as before).
TIPS:
In either shed, only pass through an amount that is easy for one hand to work with.
Bubbling the weft allows it to distribute evenly and fully cover the warp.
In tapestry weaving, we generally try to completely cover our warp threads with weft.
At the beginning, you can fiddle with it. Pack it down more, squishing the top and bottom.
The more you weave, the stronger the base and easier it will be to cover the warps.
Now, continue weaving, using those steps, and make a 1-2″ bottom section from which to work.
When you run out of yarn, avoid leaving ends on the edge; instead, end them inside.
Continue in the same shed with new weft adjacent to the area you just wove (6:08).
You can decrease by turning around at any warp thread while weaving.
Text from the video: www.vancouveryarn.com/blog/the-tapestry-unlimited-blog-tour-begins
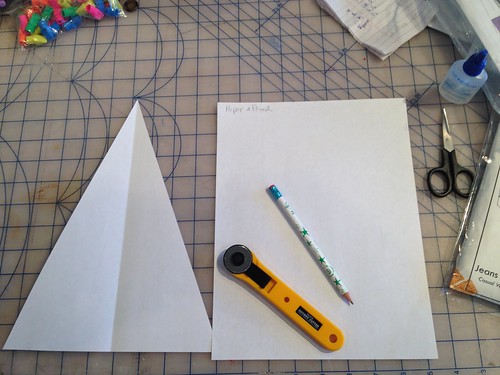
For this warping style, we are simply wrapping the warp around the loom.
Before you start, you will want to decide on your tapestry width and EPI.
EPI (ends-per-inch) refers to how many warp ends are woven in a one inch wide area.
I recommend that beginners warp up at 6 ends per inch using cotton or wool warp yarn
and weft yarn that is worsted weight or the equivalent weight made up of combined strands.
Today, we will be warping at 6 EPI across 8 inches.
First, we will warp up without worrying about spacing. Start by tying the warp to the loom.
Wrap your warp yarn around the loom maintaining even tension throughout.
I use one hand to maintain tension while the other one holds the ball of yarn. (1:20)
Be sure to stack your warp threads (i.e. do not cross them over each other as you wrap).
Finish by tying the warp end to the end of the loom.
A square knot will do, but a double half hitch knot allows you to adjust the tension.
When warped, there are warp threads at both the back and front of the loom.
In this method, we achieve the desired EPI by bringing the back warps to the front.
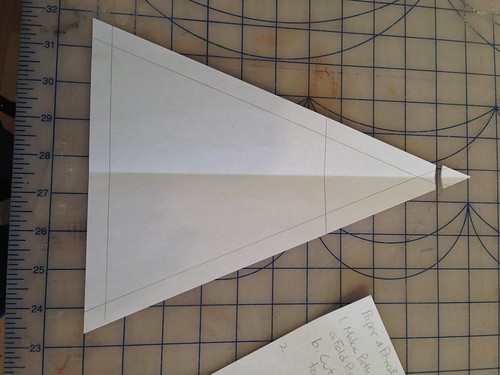
In preparation, we space the warps evenly to be half the EPI across the desired width.
I start by dividing my 24 warps evenly across 8 inches (3 EPI).
Do this at both the top and bottom of the loom.
Before we bring the back warps forward, we want to tighten the tension by turning the nuts.
The warps should be just tighter than taut, nice & bouncy.
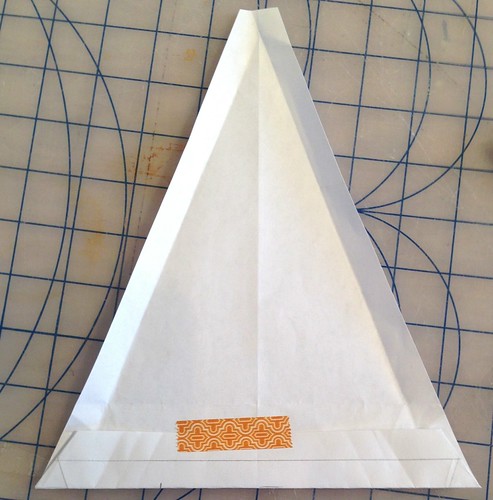
First, cut some of the same yarn as your warp to be 1.5 times the length of your loom
and secure it with a square knot on the left hand side of your loom (assume right handed?).
Picking the back warps up between the front ones doubles the EPI, achieving the desired EPI.
In sections, pick up a back warp between each front warp and pass the yarn between them (3:50).
Secure the yarn to the end of the loom with a square knot.
There will still be a small space between the back and front warps.
That space is called a shed. You will learn more about it in the weaving video.
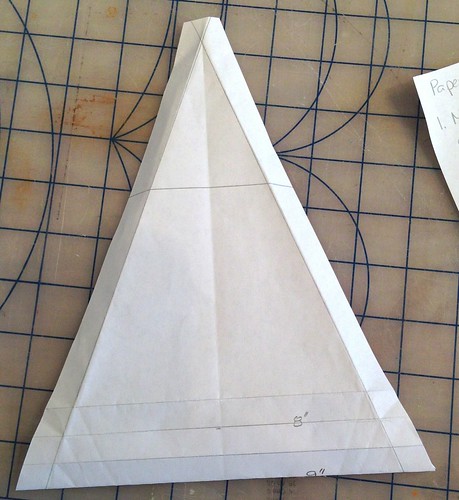
Next, use a fork to straighten out the yarn,
and double check the warps are spaced evenly across the entire width.
Using weft yarn 3x the width of the warp yarn, we will twine across all the warps. (5:35)
This will help keep the warps aligned, as well as the weft woven when off the loom.
Fold the yarn in half and place it at the half way point around the first (left) warp yarn. (5:58) (Assumes right handed?)
Twist the 2 pieces of yarn, making an X.
Wrap the yarn that crosses in front behind the next warp thread. (6:35)
Continue by picking up the other weft yarn end and wrapping it behind the next warp.
Continue across like this, alternating between weft ends, pulling them snug each time.
Leave the ends hanging off the edge.
You will add a twined line like this when you are done weaving your piece, too.
Let’s start weaving!

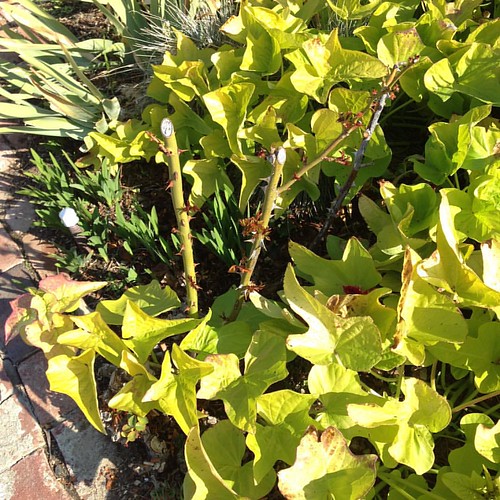
These are pix from last year (2015). It was a really hard year for my New Year rose (left), but my Climbing Joseph’s Coat did very well (right), most likely because it receives some afternoon shade.

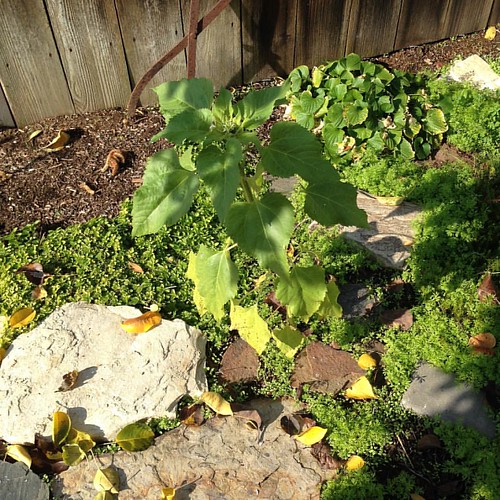
I had no success with my sunflowers until one came up in November. It turned into a frost bitten, shriveled mess by the end of December.

Lily is enjoying the first preseason Warriors game tonight.
It’s hard to take a steady picture in a rocking boat.